

Mineral specimen labels: a practical guide for collectors
A useful mineral specimen label contains three non-negotiable fields: mineral species name, precise locality, and a stable catalogue number. Add source/provenance and acquisition date when available. For durability, print on archival acid-free card stock with pigment ink, or use a small glued life-saver tag backed by a digital record. According to Mindat’s labelling guide, species name and locality are historically the two most critical items for provenance and later study.
Minimum fields checklist:
- Mineral species name (e.g., Stibnite)
- Locality (country, region, mine name)
- Catalogue number (e.g., code with year and sequence)
- Source/provenance (collected, purchased, gifted)
- Acquisition date
Pro Tip: For micromounts and thumbnail specimens where space is tight, glue a tiny life-saver tag with just the catalogue number and locality, then store the full label card in the same box or drawer.
Key takeaways
A good mineral specimen label requires species name, precise locality, and a stable catalogue number on archival card stock with pigment ink, backed by a digital record.
| Point | Details |
|---|---|
| Mandatory label fields | Species name, precise locality, and catalogue number are non-negotiable on every label. |
| Archival materials only | Use acid-free card stock, pigment ink, and reversible PVA glue to keep labels legible for decades. |
| Micromount compromise | Tiny specimens get a catalogue number and locality tag only; the full card stores in the same box. |
| Catalogue numbering | A prefix-plus-year format (e.g., LCM-2026-001) scales cleanly and links to a digital record. |
| Legacy Crystals and Minerals | Specimens ship with locality and provenance confirmed, giving collectors verified data for their labels. |
Table of Contents
- What should you put on a mineral specimen label?
- What label types work best for different specimens?
- Which materials keep labels readable for decades?
- How do font size and layout affect label readability?
- How do you build a catalogue number system that scales?
- What template sizes and formats work for home printing?
- Sample label text using Legacy Crystals and Minerals specimens
- How should you store and display labelled specimens?
- Legacy Crystals and Minerals: museum-grade specimens with full provenance
- Sources
- FAQ
What should you put on a mineral specimen label?
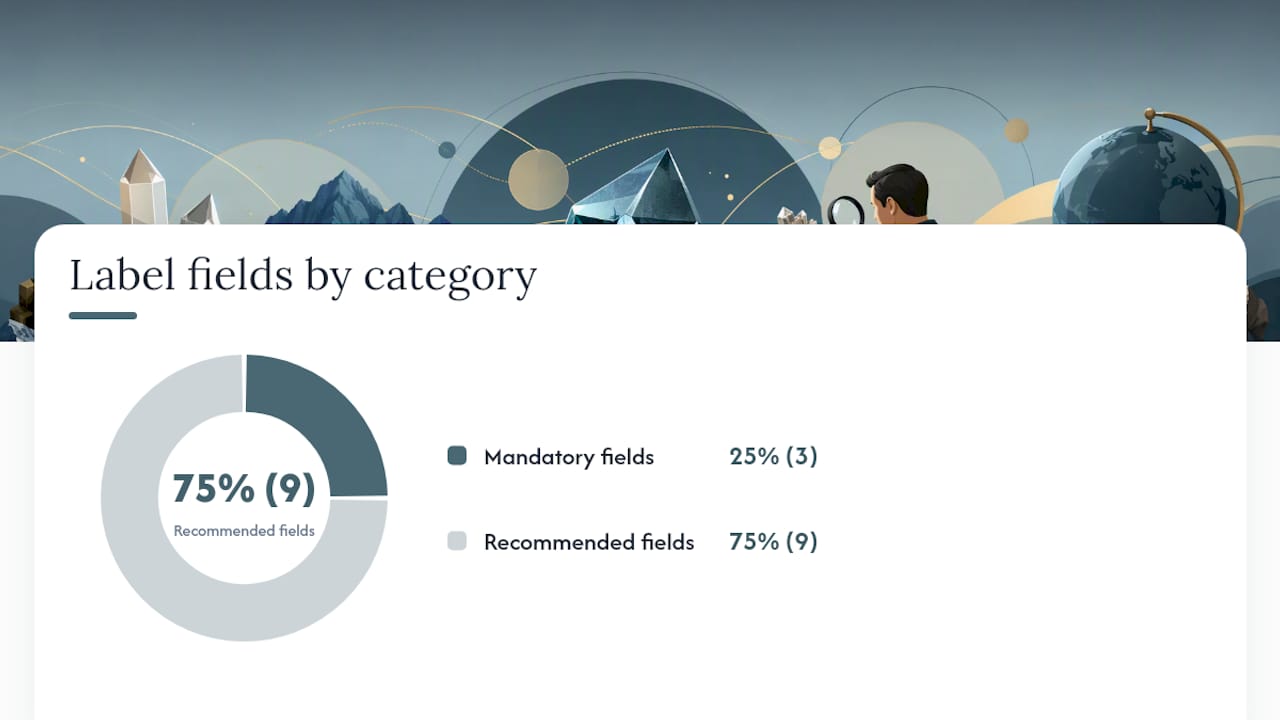
Every label field falls into one of two categories: mandatory or recommended. Mandatory fields give the label its core value; recommended fields increase provenance, scientific usefulness, and resale appeal.
Mandatory fields
- Mineral species: Use the accepted mineralogical name, not a trade name. Write Calcite not “cave crystal.”
- Locality: Be as precise as possible. “China” is weak; “Jiangxi Province, China” is useful; “Xikuangshan Mine, Lengshuijiang, Hunan Province, China” is ideal. Precise locality drives both scientific value and collector desirability.
- Catalogue number: A unique, stable ID that links the physical specimen to your records.
Recommended fields
- Acquisition date: Month and year at minimum (e.g., March 2025).
- Collector or source: Your name, a dealer name, or “self-collected.”
- Host rock or formation: Useful for geological context (e.g., “in dolomite matrix”).
- Measurements: Length × width × height in centimetres.
- Chemical formula: Recommended by Kentucky 4-H mineral label instructions for scientific detail and identification reinforcement (e.g., CaCO₃ for calcite).
- Hardness (Mohs): Optional but helpful for educational collections.
- Weight: In grams for small specimens, kilograms for cabinet pieces.
- GPS coordinates or map reference: Adds significant value for self-collected field specimens.
- Notes on rarity or special features: One short sentence (e.g., “fluorescent under SW UV”).
The 4-H rock label worksheet recommends a sequential specimen number, common name, classification, minerals present, and source as a solid starter structure. Additional fields from ObservationHobbies — size, weight, GPS coordinates — increase both research and sale value.
Sample label text (cabinet specimen):
Stibnite with Sulfur, Quartz & Realgar Alteration Jiangxi Province, China | LCM-2026-001 Acquired: date when available | Source: Legacy Crystals and Minerals 24 × 18 × 12 cm | 1.73 kg | Sb₂S₃
On provenance and permits: For self-collected Canadian specimens, note the land type (Crown land, provincial park, private property) and any permit number. Parks Canada and provincial ministries regulate collecting on protected land; a permit reference on the label protects the specimen’s legal standing.
What label types work best for different specimens?
Label type depends on specimen size and how the collection is stored. Three main formats cover most situations.
Card / tombstone labels are the standard for cabinet and box collections. A card (typically 7.5 × 5 cm or 10 × 7.5 cm) sits in front of or beside the specimen in a display box. It holds the full field set and is never attached to the specimen itself.
Life-saver glued tags are small paper circles or rectangles glued directly to a flat, inconspicuous surface of the specimen. They carry the catalogue number and locality at minimum. Use these as a backup ID so the specimen and its record stay linked even if the card is separated.
Box / drawer labels attach to the outside of the storage container. They repeat the species name, locality, and catalogue number so the specimen can be identified without opening the box, reducing unnecessary handling.
Micromount solutions require compromise. A perforated or cut tag threaded through a small plastic box lid, or a tiny adhesive dot with just the catalogue number, is often the only practical option. The full data lives on a card stored inside the same container.
Common placement mistakes to avoid:
- Gluing tags over crystal faces or terminations
- Placing labels where they block the best viewing angle
- Using a label too large for the specimen, which forces awkward storage
- Attaching labels with permanent solvent adhesives that cannot be removed without damage
Rockhound Resource recommends the separate card plus index-number system specifically to avoid marking specimens directly, preserving both the specimen and its market value.
Which materials keep labels readable for decades?
Material choice determines whether a label is still legible in 20 years or has faded, yellowed, and crumbled.
Paper and card stock: Use acid-free, archival-grade card stock (pH neutral or buffered). Standard office paper yellows and becomes brittle within a few years. Archival card is widely available at Canadian art supply retailers such as Curry’s or Opus.
Inks: Pigment-based inks resist fading far better than dye-based inks. Laser-printed labels on archival card are a practical choice for home collectors. Inkjet printing with pigment cartridges (e.g., Epson UltraChrome series) also performs well. Avoid standard dye-based inkjet ink for any label you want to last.
Adhesives: PVA (white glue, diluted slightly) is the standard reversible adhesive for glued life-saver labels. It bonds securely but can be softened with moisture for removal. Avoid cyanoacrylate (super glue), rubber cement, and solvent-based permanent adhesives. Mindat’s guide explicitly recommends archival papers, pigment inks, and reversible PVA for this reason.
Lamination: Laminating a label protects the print surface but creates problems. Laminated labels are difficult to update, hard to remove cleanly, and can trap moisture against sulphide or saline specimens, accelerating corrosion. For reactive minerals (stibnite, pyrite, halite), use a barrier layer of archival polyester film between the label and the specimen surface instead.
Do not use:
- Ballpoint pen on plain paper (ink fades and paper degrades)
- Masking tape or regular adhesive tape as a label surface
- Rubber stamps with oil-based ink on uncoated paper
- Sticky notes of any kind
Pro Tip: When gluing a life-saver tag to an irregular surface, apply a thin, even coat of diluted PVA to the tag back, press it flat, and hold for 30 seconds with a soft cloth. Avoid pressing directly on the mineral surface with bare fingers.
How do font size and layout affect label readability?
Small labels fail most often because of font choices, not content. A few concrete rules prevent the most common problems.
Font sizes:
- Life-saver glued tags: 5–6 pt minimum; 6–8 pt preferred where space allows
- Box / tombstone cards: 9–12 pt for body text; 12–14 pt for the species name
- Micromount tags: catalogue number only, 5 pt, printed at maximum printer DPI
Font families: Sans-serif typefaces (Arial, Calibri, Helvetica) remain legible at small sizes. Serif fonts (Times New Roman) can blur at 6 pt on a home inkjet printer.
Layout rules:
- Left-align all text
- Bold the species name and locality line
- Keep lines short (no more than 35 characters per line on a card label)
- Use consistent abbreviations: “Loc.” for locality, “Acq.” for acquisition date, “Cat.” for catalogue number
Printing tips:
- Print at 600 DPI minimum; 1200 DPI for life-saver tags
- Run a test sheet on plain paper before cutting archival stock
- Use PDF output from your template to avoid font substitution at the printer
QR codes: A QR code linking to a digital catalogue entry is practical for large collections. Print the QR at a minimum of 2 × 2 cm to remain reliably scannable. Link it to a stable URL (a Google Sheet, Notion database, or dedicated app entry). ObservationHobbies notes that QR codes reduce label text and preserve long-form provenance in a cloud or local database.
Pro Tip: Test every QR code with at least two different smartphone apps before printing the full sheet. A QR that scans on one device may fail on another if the contrast or size is marginal.
How do you build a catalogue number system that scales?
A catalogue number is only useful if it is unique, stable, and consistently applied. Three formats work well for personal collections.
Numbering formats:
- Sequential numeric: 001, 002, 003 — simple, but gives no context about the collection or year.
- Year-prefix: 2026-001, 2026-002 — easy to sort chronologically; useful for active collectors adding specimens regularly.
- Collection-prefix + year: LCM-2026-001 — combines a personal or collection code with year and sequence. Recommended for collectors who may later merge or share records.
When you acquire a specimen with an existing label or ID from a previous owner, record that original number in your digital catalogue under a “Previous ID” field. Assign your own new number and note the cross-reference. Never overwrite the original label on a museum-grade or high-value piece.
Minimal digital catalogue fields:
- Catalogue number
- Species name
- Locality
- Acquisition date and source
- Purchase price (optional, for insurance)
- Photo filename(s)
- Previous ID (if applicable)
- Notes
Workflow for incoming specimens:
- Photograph the specimen on a neutral background before handling.
- Assign the next catalogue number from your running list.
- Print or write the label.
- Attach the life-saver tag and place the card in the storage box.
- Log the record in your digital catalogue (spreadsheet, Notion, or a dedicated app such as iCollect Rocks & Minerals).
- File or link the photograph to the catalogue entry.
Rockhound Resource describes this separate card plus index-number approach as the standard method for keeping catalogue entries linked to specimens without marking them directly.
What template sizes and formats work for home printing?
Standard label sizes map to specimen classes. Matching the template to the specimen avoids wasted card and awkward trimming.
Common template sizes:
- Micromount tag: 1.5 × 0.8 cm (catalogue number and locality only)
- Thumbnail card: 4 × 3 cm (species, locality, catalogue number, date)
- Cabinet card: 7.5 × 5 cm (full field set)
- Tombstone / box label: 10 × 7.5 cm (full field set plus notes and QR code)
Home printing layout: Arrange multiple labels on a single A4 or letter sheet using a grid. A sheet of 3 × 2 inch cards fits neatly on letter paper with standard margins. Avery-compatible label sheets (e.g., Avery 5371 business card size) work well for cabinet cards and are available at Staples Canada.
Canva as an editable template: Canva’s free tier supports custom dimensions, making it practical for designing label templates. Set the canvas to the exact label size, use a sans-serif font, and export as PDF/X or a high-resolution PDF (300 DPI minimum) for clean printing. ObservationHobbies recommends keeping a digital master template and test-printing before cutting archival stock.
Checklist before cutting:
- Print one test sheet on plain paper and check alignment
- Confirm font sizes are legible at actual size (not on screen)
- Verify QR codes scan correctly if included
- Save the master template file with a version date in the filename
- Cut with a paper trimmer, not scissors, for clean edges
Sample label text using Legacy Crystals and Minerals specimens
The following sample labels are based on real specimens from Legacy Crystals and Minerals and show how provenance fields map to a finished label. These can be pasted directly into a Canva template or word processor.
Cabinet specimen label — Stibnite:
Species: Stibnite with Sulfur, Quartz & Realgar Alteration Locality: Jiangxi Province, China Cat. No.: LCM-2026-001 Acquired: January 2026 | Source: Legacy Crystals and Minerals Weight: 1.73 kg | Formula: Sb₂S₃ Notes: Realgar alteration present; handle with care — arsenic-bearing mineral
This label for the Stibnite with Sulfur, Quartz & Realgar Alteration specimen illustrates how a safety note integrates naturally into the notes field.
Cabinet specimen label — Calcite:
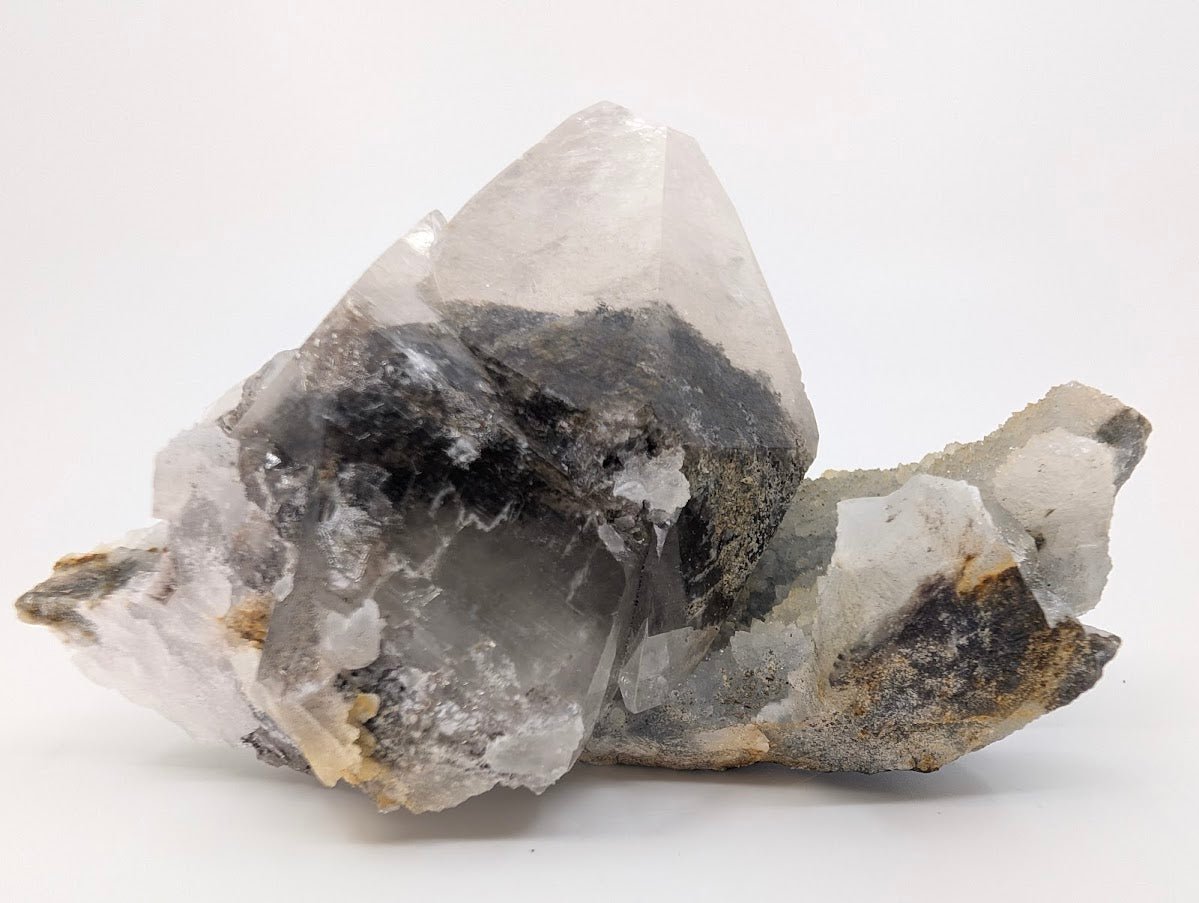
Species: Dogtooth Calcite with Dendritic Inclusions and Sugar Sphalerite Locality: Not publicly listed Cat. No.: LCM-2026-002 Acquired: 2026 | Source: Legacy Crystals and Minerals Formula: CaCO₃ | Associated mineral: Sphalerite (ZnS) Notes: Dendritic inclusions visible on terminations; display-grade
The Dogtooth Calcite with Dendritic Inclusions and Sugar Sphalerite specimen shows how associated minerals and display notes add value to a label without cluttering it.
Micromount label (catalogue number only):
LCM-2026-003 | Jiangxi, China
For high-value or museum-grade pieces, use reversible PVA for any glued tag and never write directly on the specimen. Understanding what makes a specimen collector-grade helps prioritise which fields matter most for provenance and resale.
How should you store and display labelled specimens?
Labels and specimens need to stay paired through handling, shipping, and long-term storage.
Cabinet display:
- Place tombstone cards in front of the specimen, species and locality line facing outward
- Use transparent acrylic or card holders to keep cards upright without touching the specimen
- For box collections, attach a label to the inside lid so it is visible when the box opens
Binder and sleeve storage:
- Store card labels in archival polyester sleeves alongside the specimen in a padded tray
- Transparent pockets (archival polypropylene) protect paper labels from humidity and handling
Shipping and handling:
- Photograph the specimen with its label before packing
- Tape the card label inside the box lid, not loose in the packing material
- Wrap the specimen separately from the label card to prevent abrasion
Preventing fading and acid migration:
- Store labelled specimens away from direct sunlight and UV light sources
- Use archival sleeves for paper labels stored in drawers
- Keep sulphide specimens (pyrite, stibnite) in sealed containers to slow oxidation, which can also degrade nearby paper labels
Pairing good labels with proper specimen storage and display practice keeps both the specimen and its record intact over the long term.
Legacy Crystals and Minerals: museum-grade specimens with full provenance
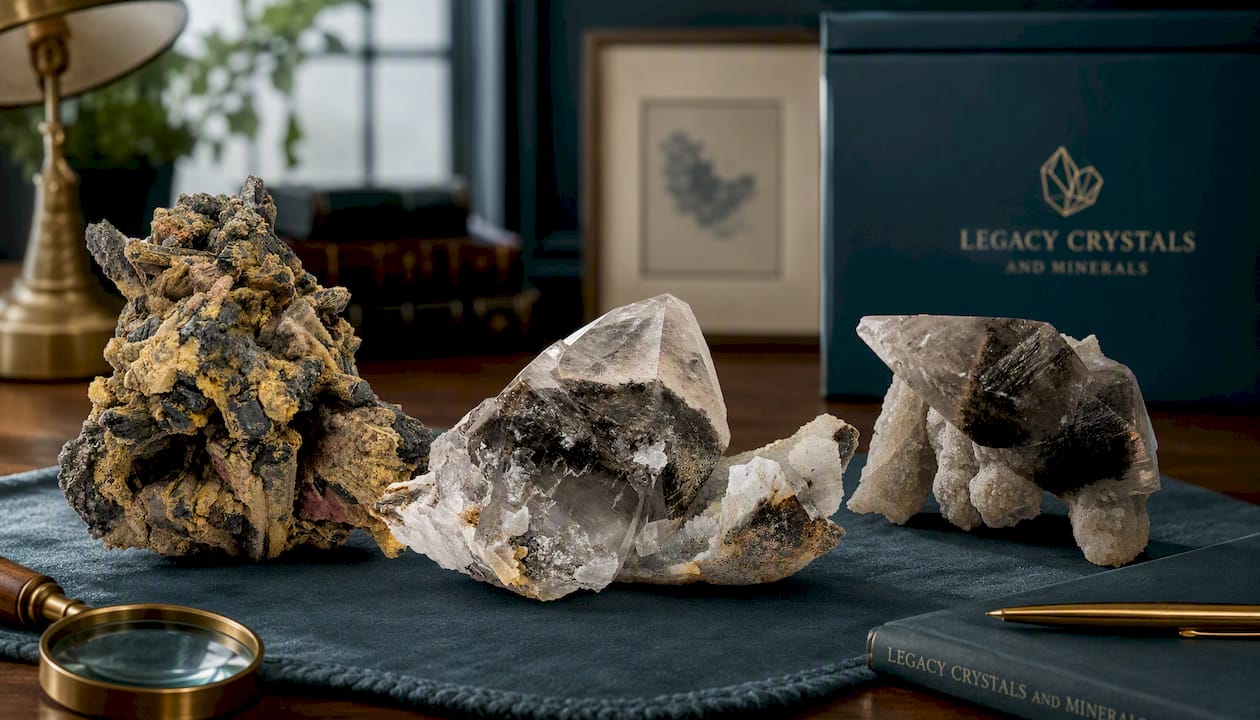
Every specimen at Legacy Crystals and Minerals ships with locality and provenance information already documented, giving collectors a ready starting point for their own labels and catalogue records. The Stibnite with Sulfur, Quartz & Realgar Alteration from Jiangxi Province and the Dogtooth Calcite with Dendritic Inclusions are examples of pieces where the locality, weight, and associated minerals are all confirmed, so the label fields in this guide map directly to the listing details. For collectors building a serious catalogue, starting with specimens whose provenance is already verified saves time and adds long-term value. Browse the full curated selection at Legacy Crystals and Minerals to find pieces that arrive label-ready.
Sources
The following references were used to build this guide and are worth consulting directly for templates, field lists, and best practices.
- Making Labels for Mineral Specimens
- Instructions for Mineral Label (4‑H, Kentucky)
- Labeling and Cataloging Rocks & Minerals (The Right Way) – Rockhound Resource
- Essential Guide to Rock Specimen Labels: Identification, Tips, and Best Practices
FAQ
What are the minimum fields for a mineral specimen label?
Species name and locality are the historical minimum, as noted by Mindat. Adding a catalogue number links the physical specimen to your full records.
What paper and ink should you use for mineral labels?
Acid-free archival card stock with pigment-based ink (laser or pigment inkjet) gives the best longevity. Avoid standard dye-based inkjet ink, which fades within a few years.
How small can a glued life-saver label be?
Mindat’s guide recommends no smaller than 5–6 point type for glued tags, with at least the catalogue number and locality included. A full label card stored in the same box holds the remaining fields.
Can you use QR codes on mineral labels?
Yes. Print QR codes at a size sufficient to ensure they remain reliably scannable, and link them to a stable digital catalogue entry. This approach works well for large collections where label space is limited.
Do Canadian collectors need permits noted on their labels?
For specimens collected on Crown land or in provincial parks, noting the permit number and land type on the label protects the specimen’s legal standing. Parks Canada and provincial ministries regulate collecting on protected land; check the relevant authority before collecting.
Recommended
- What Makes a Mineral Specimen Collector Grade? – Legacy Crystals and Minerals
- Beginner’s Guide to Building a Mineral Collection – Legacy Crystals and Minerals
- Caring for Your Specimens: Storage, Cleaning, and Display – Legacy Crystals and Minerals
- What Makes a Mineral Collectible? – Legacy Crystals and Minerals


